
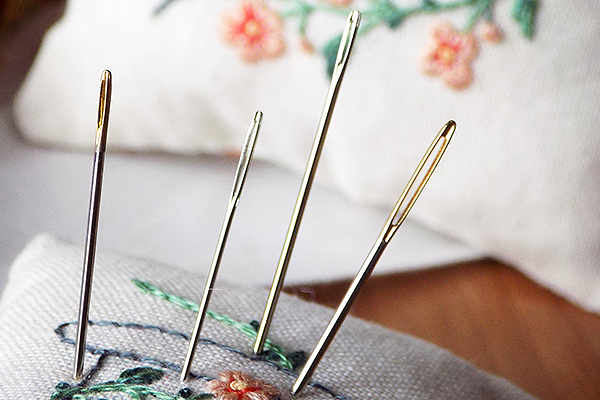
It's time to kick off another marathon for the chain stitch family and, hopefully, complete it! I plan on posting at least 4 tutorials this week, every day, so be prepared for a lot of information. That being said, the stitches are all very fun, so take a piece of fabric, your favorite thread and practice with me :)
Here are some posts I recommend reading before we proceed:
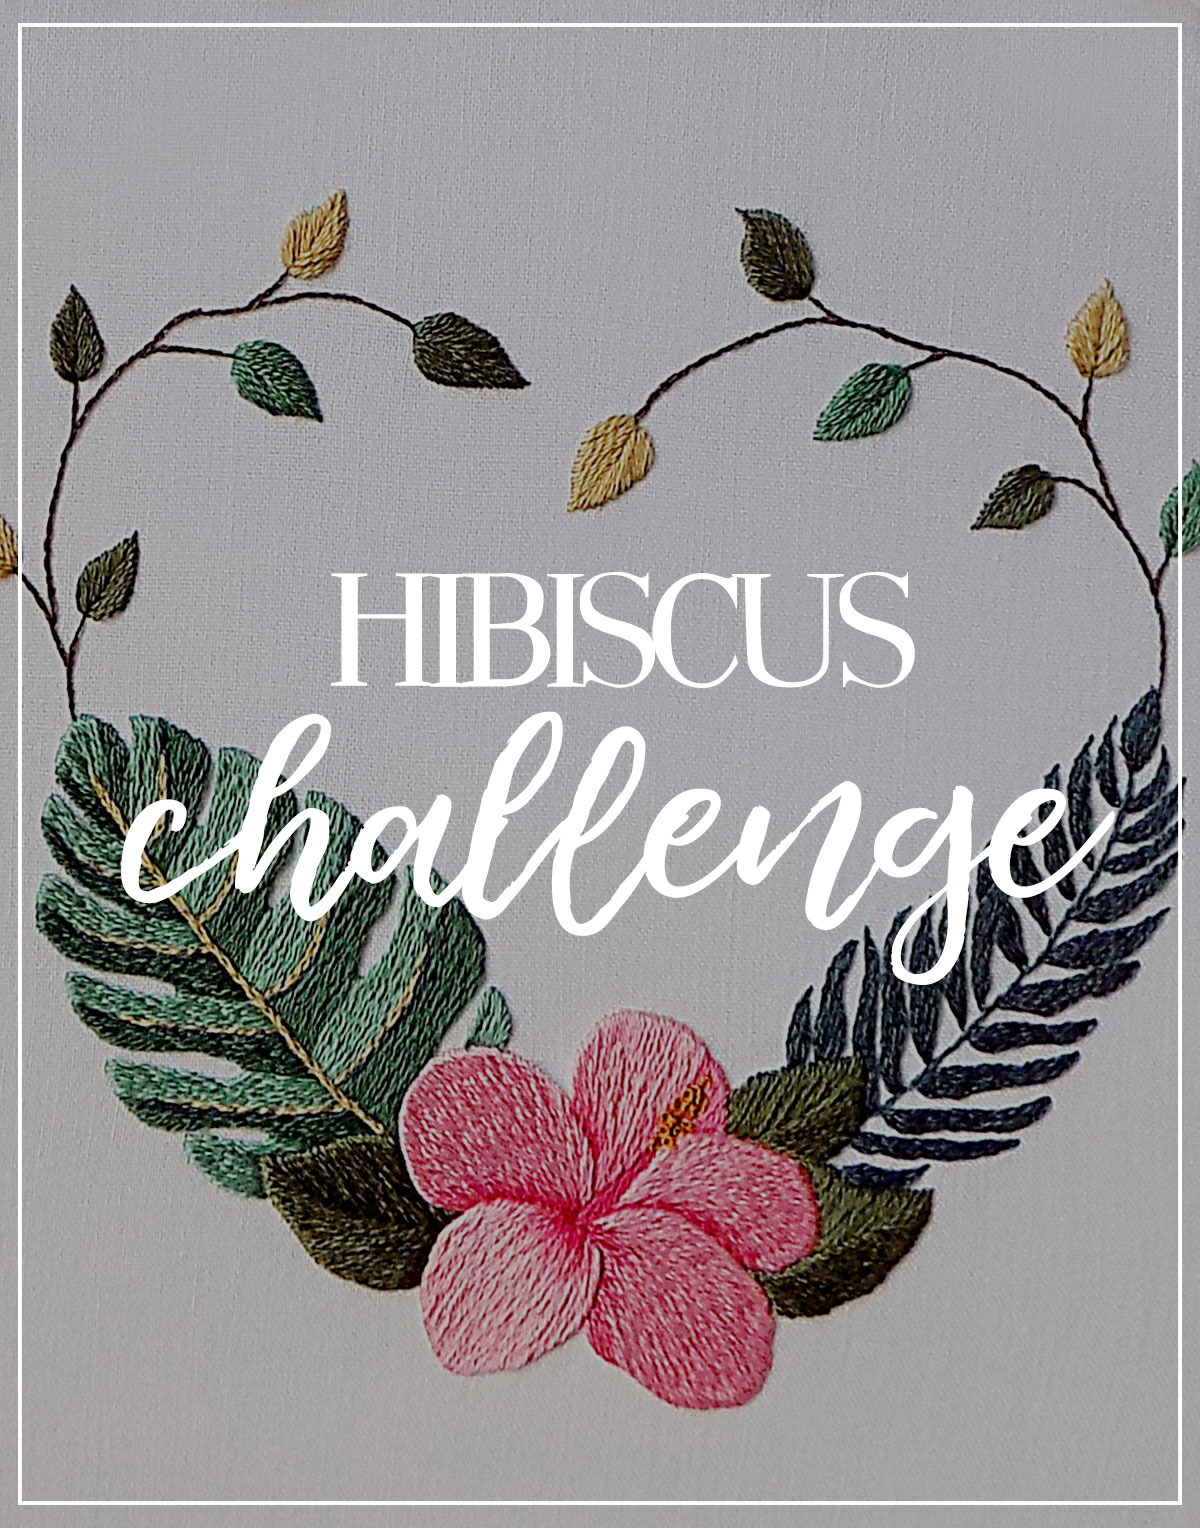
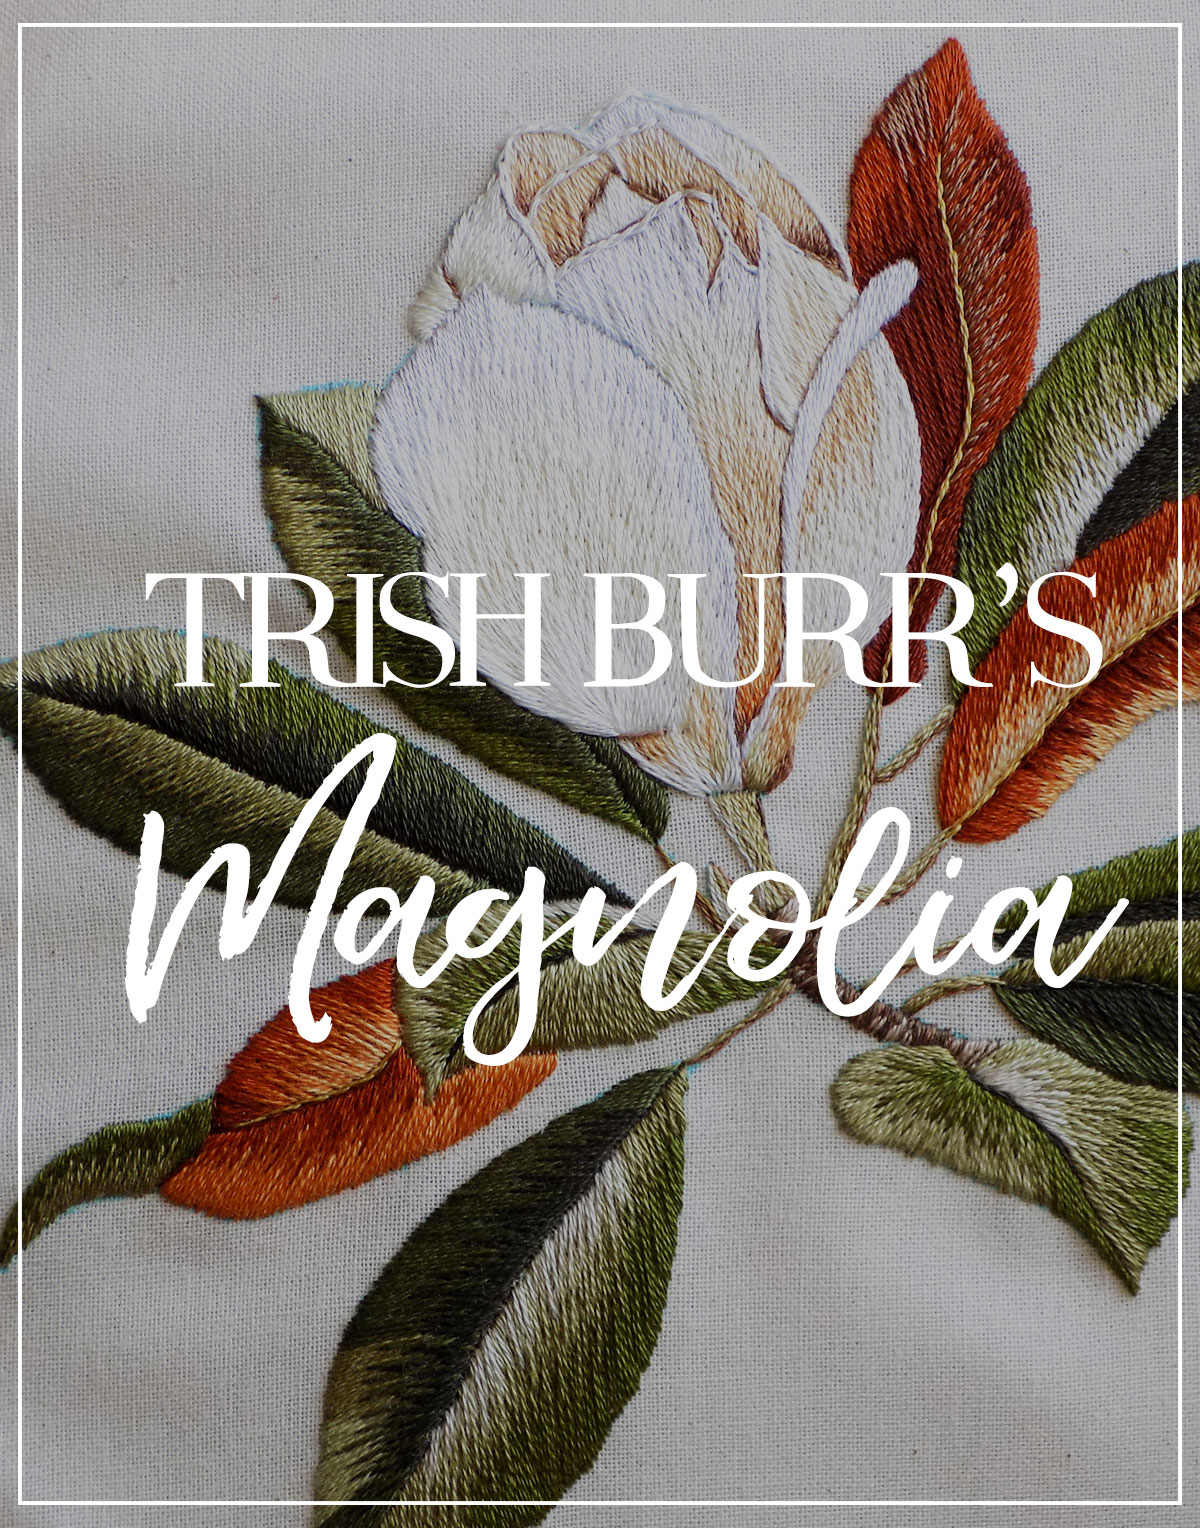
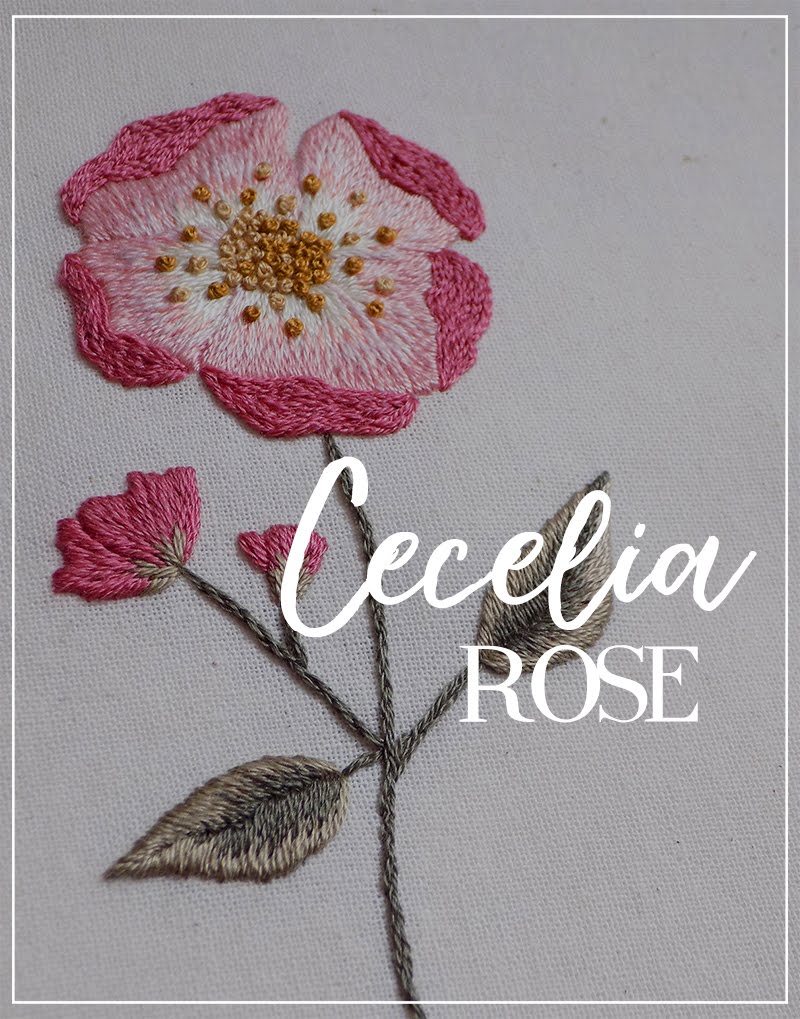
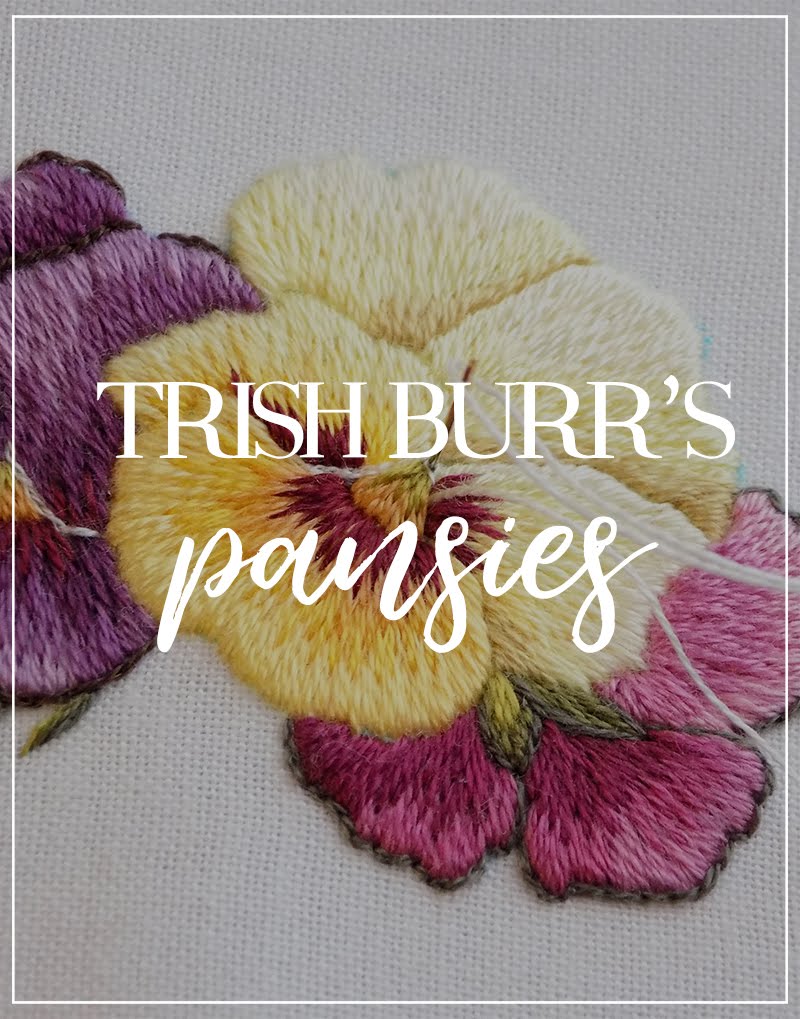
And the posts from the March marathon:
For the Crested chain stitch that we are going to learn today, you might really want to check out the Coral stitch first (the last link) because there will be a similar element.
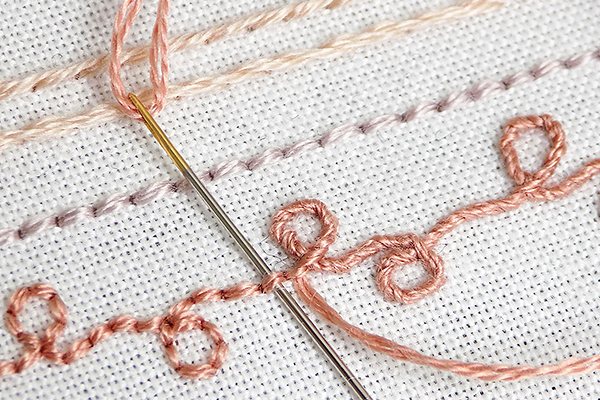
Crested chain stitch how to:
There are various ways of working this stitch and depending on the approach the appearance will slightly vary as well. I will show one method in detail and then will show how a different approach might change its look.
First of all, you need to have two parallel horizontal lines to work this stitch. If you're using an evenweave fabric, then you can just follow the rows of holes. Otherwise, you can mark the lines with an erasable marker. I don't recommend using any permanent marker or pen because one of the lines is not going to be fully covered.

1. When you decided on the two lines, you can start by making a single chain stitch. I make a small one here so that it doesn't stand out much.

2. After making the first chain stitch, we now switch to the top line. And here we are using the element from the Coral stitch: we pick a bit of fabric with our needle and tuck the free end of thread under its shaft. Please pay attention to how the thread first covers the needle shaft and only then goes under it, facing the bottom line.

3. Pull the needle through and now you should have a knot formed on the top line. The free end of the thread is facing upwards now, so we slide the point of the needle under the “bridge” between the chain stitch and the knot.

4. To start a new stitch we bring the needle down at the end of the previous chain stitch, inside the loop, and then come up a stitch distance away, tucking the thread under the shaft again. It might look as if the needle is placed at an angle here, but that's just a bad angle of the picture! In fact, it is placed horizontally here.

5. And then we repeat the second and third steps and continue working the stitch.

6. The last loop will be anchored by a tiny straight stitch.
Now, I personally prefer this look of crested chain stitch, with long bridges and well-pronounced triangle loops.
Also, in fact, you can start the base line without the first chain stitch at all. I mean you can come up at the start of the line and proceed to steps 2 and 3, and when it comes to step 4 (starting a new loop), just bring the needle down at the base point where the thread first emerged. It's just that I've never seen this approach in any tutorials, but I don't think anyone will care that much if we alter the usual routine a little, right? ;)

You can, however, change some ways. For example, shorten the distance between the bottom and top lines, which would make the bridges shorter accordingly, and increase the length of the stitches. Also, instead of making the knots aligned with the middle of base stitches (loops), you can align them with the start or the end of the stitches. All of this will make the crested chain stitch look differently.

Try various approaches and choose the ones you like the most! Crested chain stitch might remind you of lace and can be used for pretty borders in your stitch samplers or crazy quilting or any fantasy lineart embroidery. The stitch is really fun, so you should definitely include it in your stitch vocabulary!
And I will see you next time with a new stitch :)


No comments
Write what you think! ❤
Note: Only a member of this blog may post a comment.