
Another Friday and another portion of Stitch Along instructions! This time it's the last one, aw.
Have you been stitching this week? How is it going? I hope you managed to complete the petals from the previous part of instructions, but don't be discouraged if it is taking longer time! It is totally fine. Today we are going to add some finishing strokes which don't take much time, so if you want, you can distract yourselves with them and then go back to the petals.
Does that sound good? I often skip to other elements when I get bored with my ongoing stages. That's normal.
If you didn't read the previous part of instructions, follow the link below:
Last time we ended the stitching session on the petals, and today we are going to fill the currently empty center with stamens.
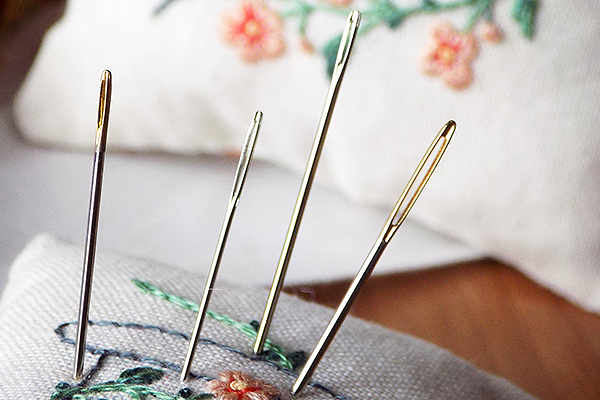
Quick reminder: I will be mentioning colors by the numbers they are listed under in the pattern you received earlier. Also, please, pay attention to the number of strands of thread we use for each element. Sometimes it will be 2 strands, sometimes 1 strand.

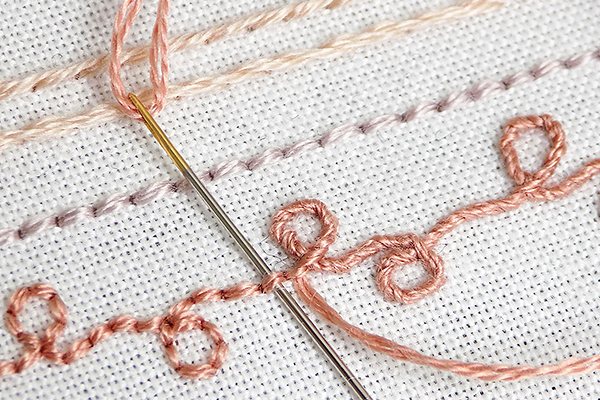
Now, we take the floss of color #7 for the left side and #6 for the right side and let's make some French knots here (if you're more comfortable with colonial knots, then you can work them, it won't affect the design). We are using 2 strands of thread for the knots so that they are more dimensional and add a bit of texture to our needlework.
Recently I got a couple of questions concerning the DMC 422 color (#7 in the list), which is used for the stamens. Turns out it can't be found in some stores, and as I checked the official online store, indeed, DMC doesn't sell it neither in the US nor in France.
I didn't expect that because I literally bought it last month at my local store, so I didn't think there would be any problem, but it was probably from the older stock then...
Sorry for the trouble to everyone who couldn't find this color! After checking what is available in the official store at present, I suggest substituting it to one of the following colors: 729/728/676. Any of them will do.

In the pattern you might have noticed that I divided the center into two parts. But to not make the division so obvious we can mix them up just a little bit.
By the way, the picture above shows the long and short stitch in the petals well, maybe it can help if you are confused about direction and placement of stitches there.

Now we add extra knots right on the petals. Use both colors and scatter them randomly – let's say, 3-4 knots for each petal, that will be enough.

Moving on to the smaller flower shapes or buds, whatever you choose to call them. We are not going to use shading here, but long and short stitch still will be present. So, take 1 strand of floss #1 from the list in the pattern and make an outline of the flower shapes. Then let's fill it just like we did with the petals.

You can slack off at the base of the flowers because there will be another color added.

Namely, color #8 from the list in the pattern, 1 strand. Just make few straight stitches, they will play the role of a sepal.

Repeat the same with the smaller bud shape, except that the green part reaches higher this time - almost to the middle of the shape. Close-up should give a better idea of how it looks.
And... that's all! I told you, the last part is going to be quick.

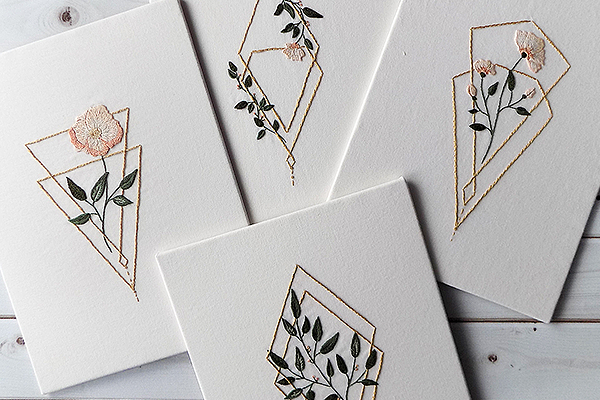
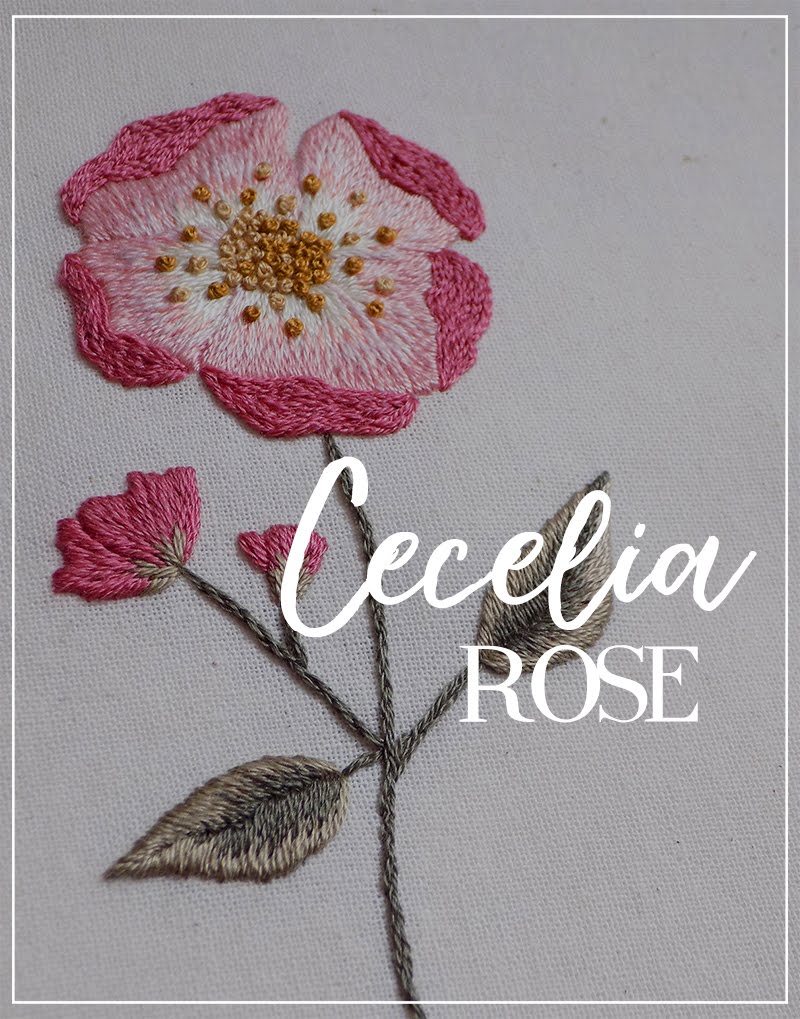
Here's your Cecelia Rose, ready to be framed or utilized as a decoration for some sewing project, or used in any way you like. Personally, I'm going to frame it into something barocco-looking, because it gives me some royal vibes, haha.
Also, I wanted to share this beautiful rose by Gouri Joshi, that she sent me recently. I'm so in love with it!

I really love how you interpreted the design and added a bit of your own vision to the flowers and decorated it with a lovely background of tiny knots. So pretty, ah! All the stitches are on point and I would never think it is your first try in long and short stitching!
I'm always so happy seeing your embroideries! Hopefully, we can make a gallery of what we got during this Stitch Along, it will be fun seeing how one design can be stitched and interpreted differently depending on the artist. You can send me pictures via e-mail to aminakdesigns@hotmail.com or post your results on Instagram and tag @stitch_floral there, or use #ceceliarose_sa hashtag.
And now it's the Confessions time!
How was the Stitch Along? Was it hard to follow? Was everything clear? If I did a new Stitch Along, what would be your wishes/suggestions to make it better? Tell me what you think in the comments below, I'm eager to hear what you have to say!
UPD. See the results here
UPD. See the results here
The pattern is now in Resource Library. You will get a password after signing up to the Newsletter, save it for further use!


No comments
Write what you think! ❤
Note: Only a member of this blog may post a comment.